 This will only be of interest to those of you who use Chrome. I wouldn’t normally post a how-to that’s basically a replication of other stuff on the net, but it turns out this is a two-step process and no one tells you that, which can lead to much frustration.
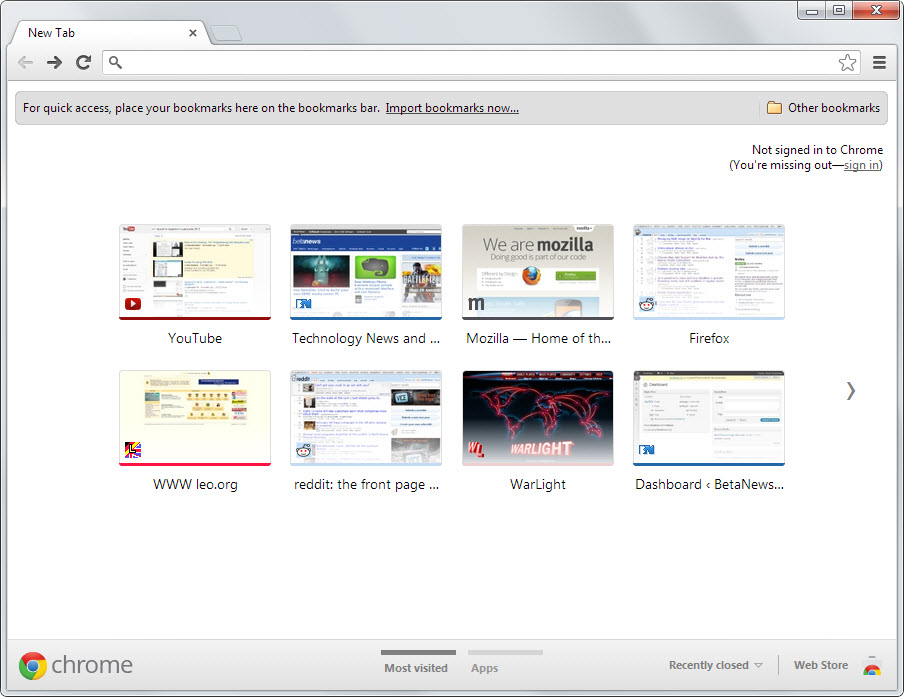
Those most-visited sites on the new-tabs page? You probably already know you can remove them permanently by hovering over one until a little ‘X’ shows up in the upper-right corner and you click it. But what happens if you accidentally clicked it for a site you use all the damn time, like Gmail? There should be a menu item under ‘Options’ that allows you to remove/edit that sort of thing, right?
Well yes, there SHOULD be. For something so easily mis-clicked, and of such usefulness, there SHOULD be a quick and easy customization option. At the very least a way to undo mistakes (or for when you change your mind). But there isn’t.
So Step One is to edit the Preferences data file manually. Taken from the Google Product Forums:
On Windows XP: C:\Documents and Settings\<YOUR_USERNAME_HERE>\
Local Settings\Application Data\Local\Google\Chrome\User Data\
On Windows Vista: C:\Users\<YOUR_USERNAME_HERE>\AppData\Local\Google\Chrome\ User Data\ You will need Hidden Folders enabled to find that directory. Otherwise, you can just substitute it into your address bar in Windows Explorer, and then hit Enter.
Once you find that folder, there should be a folder called “Default”. Browse into that folder, and look for a file simply called “Preferences”. We’ll be editing that file, so feel free to back it up just in case.
Now, open that file in Notepad, and find the section called “most_visited_blacklist”. You can press ctrl+f, and enter that term to find it quickly.
For example, you should see something like this (btw, this is what mine looks like):
“most_visited_blacklist”: {
“132dcb2a30d7da81d9b002347f6ffb dc”: true,
“c81fae6de8847f57a5b6cf80f083db ae”: true,
“df76891edd41a04f8fb44114885522 dc”: true
},Change it so it looks something like this:
“most_visited_blacklist”: {
},In the newer version of Chrome you also have to find the text that says something like
“blacklistupdate”: {
“lastpingday”: “847363674885675”
},
and clear it also to look like this
“blacklistupdate”: {
},
At this point you might be tempted to shut down Chrome and restart it, to witness your success. Don’t do this. What no one tells you is that Google “conveniently” keeps a backup of all the sites you’ve blacklisted from your new-tabs page (along with much more, of course). And they will “conveniently” update your blacklist to match their records automatically on start-up. You’ll have to go back into your Preferences file and do all of this AGAIN. It feels almost like black magic the first time you go back into your Preferences file and see that nothing has changed, even though you explicitly remember having edited and saved it just two minutes ago. Has my memory of events been hacked? WTF?
Anyway, first you have to disable Google’s Syncing. Here’s how to do that, taken from C-Net:
To clear your sync data from the Google Dashboard, scroll to the Chrome sync section and click the link to “Stop sync and delete data from Google.” You’ll then be prompted to confirm the deletion.
You can also go directly to the Chrome sync settings page. There, you’ll see a grid layout of sync items and a count of how many of those items are being synchronized. Hovering over each section brings up a description of the type of data being synchronized. To clear your data, click on the “Stop and Clear” button. Again, you’ll be asked to confirm the deletion.
That’s it. Within several hours, all your sync data will be deleted from Google’s servers. To re-enable Chrome sync, go to Settings in Chrome, and use your Google account to sign in. Then, go to Advanced sync settings to choose the items you want to sync.
So, there you go. A simple menu option turned into manual file editing and disabling “nifty” features you didn’t know you had (or wanted!). Someone at Google dropped the ball on this one.
BTW, if you have the new Chrome New Tabs page as much as I do, you can revert back to the old one (at least for now). Hey Google – once the omnibar in the New Tabs page acts the same way it does on google.com – including auto-fill drop downs – then I’ll use it.
/frustration